
Step-by-Step Guide: Installing the 9FQ 22 Hammer Mill for Optimal Performance
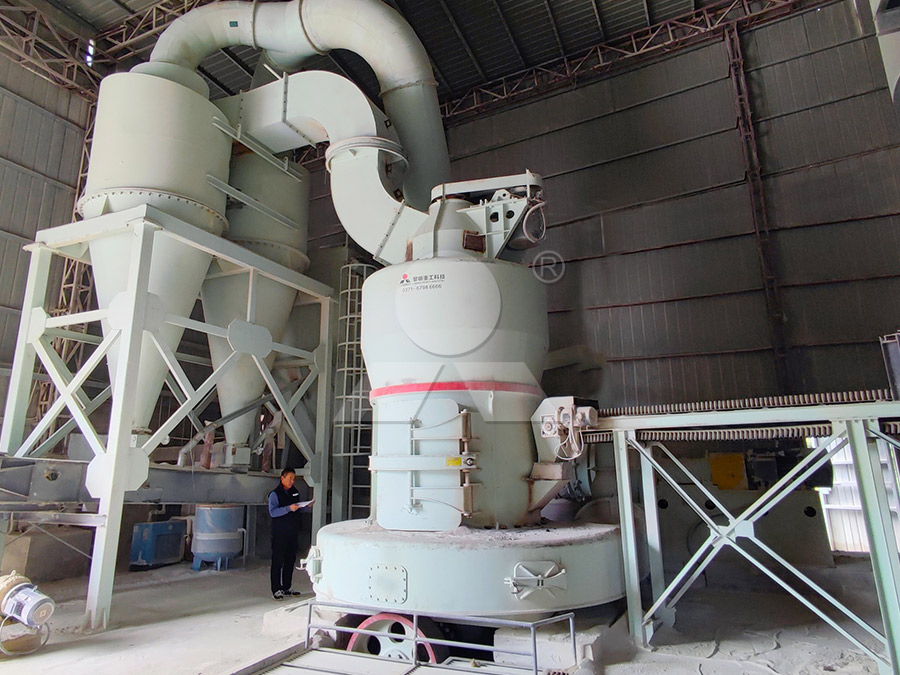
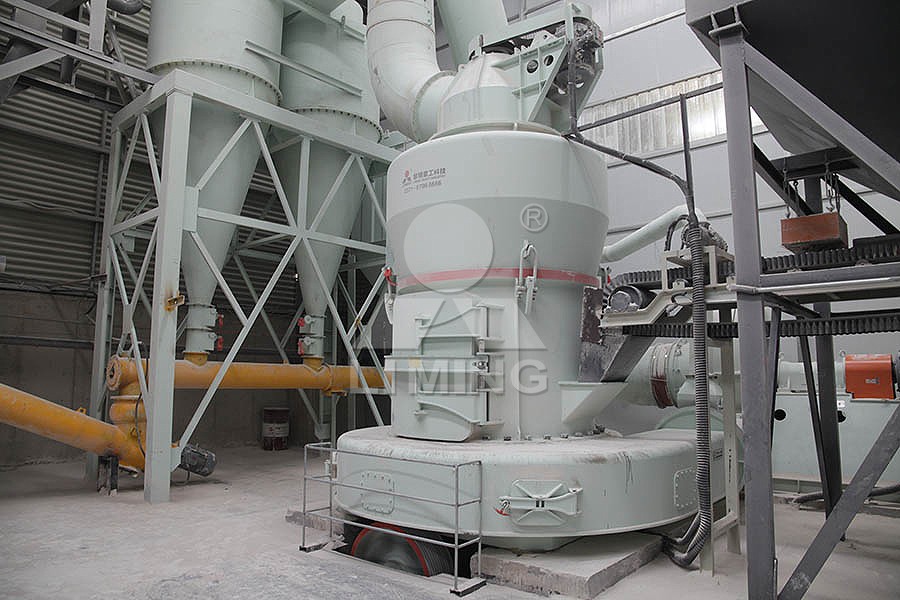
We provide a wide range of mills — including Raymond mill, trapezoidal mill, vertical mill, ultrafine mill, and ball mill, obtained ISO9001 international quality certification, EU CE certification, and Customs Union CU-TR certification. Suitable for processing minerals such as limestone, phosphate, quicklime, kaolin, talc, barite, bentonite, calcium carbonate, dolomite, coal, gypsum, clay, carbon black, slag, cement raw materials, cement clinker, and more.
The discharge range of these mills can be adjusted to meet specific processing needs, typically from 80-400 mesh, 600-3250 mesh, and can achieve the finest particle size of up to 6000 mesh(D50).
If you are looking for a reliable grinding solution to turn stone or minerals into fine powder, please feel free to contact our online customer service.
Step-by-Step Guide: Installing the 9FQ 22 Hammer Mill for Optimal Performance
Welcome to this comprehensive installation guide for the 9FQ 22 Hammer Mill. Proper installation is the cornerstone of achieving the machine’s full potential in terms of efficiency, longevity, and safety. This guide will walk you through the critical steps, from pre-installation checks to final commissioning, ensuring your operation starts on the right foot.
Pre-Installation: Foundation and Site Preparation
Before the mill even arrives on site, meticulous planning is essential. The 9FQ 22 requires a solid, level concrete foundation capable of withstanding its dynamic operational loads. Ensure the foundation bolts are correctly positioned according to the supplied foundation drawing. The site should be clean, dry, and well-ventilated, with ample space for operation, maintenance, and material handling. Verify that the power supply matches the motor’s voltage and frequency requirements.
Uncrating and Initial Inspection
Upon delivery, carefully uncrate the mill and inspect all components against the packing list. Look for any signs of damage that may have occurred during transit. Check the main frame, rotor assembly, hammers, screens, and electrical components. It’s also the perfect time to inventory and inspect any optional accessories you may have ordered.
Step 1: Positioning and Leveling
Using appropriate lifting equipment, carefully position the main body of the hammer mill onto the prepared foundation. Do not lift the mill by its motor or feeder. Use a precision level on the machine’s base to ensure it is perfectly level in all directions. This step is critical to prevent uneven wear and vibration. Once level, tighten the foundation nuts securely.
Step 2: Installing the Drive System
The 9FQ 22 typically uses a V-belt drive system. Install the motor on its adjustable slide base according to the manual’s specifications. Place the V-belts on the pulleys, but do not tension them yet. Proper alignment between the motor pulley and the rotor pulley is paramount. Use a straightedge or laser alignment tool to ensure both pulleys are in the same plane. Misalignment is a leading cause of premature belt failure and energy loss.

Step 3: Installing Screens and Hammers
Install the chosen screen based on your desired final particle size. Ensure it is seated correctly and securely fastened. Next, inspect the hammers for any manufacturing defects. Install them on the rotor pins, making sure they can swing freely. A pro tip: For balanced operation, weigh the hammers and group them so that the total weight on opposite sides of the rotor is within 5 grams of each other.
Step 4: Connecting Auxiliary Systems
Connect the feed hopper and discharge cyclone or bag filter. Ensure all connections are airtight to prevent dust leakage and maintain proper airflow, which is crucial for milling efficiency and temperature control. Connect the electrical wiring to the motor and control panel, following local electrical codes and the wiring diagram provided.
Step 5: Final Checks and Trial Run
Before starting the mill, perform these final checks:
- Manually rotate the rotor to ensure it turns freely without hitting the screen or housing.
- Check that all bolts and fasteners are tight.
- Apply the correct tension to the V-belts—they should have about 1/2 inch of deflection when pressed firmly at the midpoint between pulleys.
- Verify the direction of rotor rotation. It should match the arrow indicated on the machine.
Start the mill without material (empty run) for 15-30 minutes. Listen for unusual noises and monitor vibration levels. Check the motor amperage to ensure it’s within the rated capacity.
Achieving Optimal Performance
Optimal performance isn’t just about correct installation; it’s also about choosing the right tool for your specific grinding needs. While the 9FQ 22 Hammer Mill is excellent for coarse to medium grinding of grains and fibrous materials, operations requiring ultra-fine powders should consider our advanced MW Ultrafine Grinding Mill. Designed for customers who need to make ultra-fine powder up to 2500 meshes, the MW Mill features higher yielding and lower energy consumption, making it 40% more efficient than jet mills. Its unique design, with no rolling bearings or screws in the grinding chamber, eliminates common failure points and allows for 24-hour continuous operation.
For projects demanding even higher precision and stability in vertical grinding applications, our LUM Ultrafine Vertical Grinding Mill is an industry leader. Integrating ultrafine powder grinding, grading, and transporting, the LUM Mill boasts more energy-saving multi-head powder separating technology and double position-limiting technology for exceptionally stable operation. Its reversible structure makes maintenance easier than ever, significantly reducing downtime.
Frequently Asked Questions (FAQ)
What is the recommended maintenance schedule for the 9FQ 22 Hammer Mill?
We recommend a daily visual inspection of hammers, screens, and belts. Lubricate bearings every 8 hours of operation. A more thorough inspection, including checking for wear on all components, should be performed every 200-300 operating hours.
My mill is vibrating excessively. What could be the cause?
Excessive vibration is often due to unbalanced hammers, a worn rotor, misaligned pulleys, or an uneven feed. First, stop the mill and check that all hammers are present, undamaged, and balanced in sets. Then, verify pulley alignment and ensure material is being fed evenly into the center of the mill.
Can the 9FQ 22 handle moist materials?
The hammer mill is designed for dry materials. High moisture content can lead to screen clogging, reduced throughput, and increased power consumption. For materials with significant moisture, a dedicated dryer should be used before milling.
How do I choose the right screen size?
The screen size determines the final particle size. Smaller holes produce finer powder but may reduce capacity. Start with a screen size slightly smaller than your target particle size and adjust based on the results. Always consult the manual for recommended screen sizes for different materials.