
Raymond Mill Installation Guide: Step-by-Step Setup with Visual Diagrams
We provide a wide range of mills — including Raymond mill, trapezoidal mill, vertical mill, ultrafine mill, and ball mill, obtained ISO9001 international quality certification, EU CE certification, and Customs Union CU-TR certification. Suitable for processing minerals such as limestone, phosphate, quicklime, kaolin, talc, barite, bentonite, calcium carbonate, dolomite, coal, gypsum, clay, carbon black, slag, cement raw materials, cement clinker, and more.
The discharge range of these mills can be adjusted to meet specific processing needs, typically from 80-400 mesh, 600-3250 mesh, and can achieve the finest particle size of up to 6000 mesh(D50).
If you are looking for a reliable grinding solution to turn stone or minerals into fine powder, please feel free to contact our online customer service.
Raymond Mill Installation Guide: Step-by-Step Setup with Visual Diagrams
Installing a Raymond mill properly is crucial for achieving optimal performance, longevity, and safety in your powder processing operations. A meticulous approach to installation not only prevents operational issues but also ensures the mill operates at its specified capacity and efficiency from day one. This comprehensive guide walks you through the essential steps, combining technical precision with practical insights gained from field experience.
Pre-Installation Planning and Foundation Preparation
Before the equipment even arrives on site, thorough planning must occur. The foundation is arguably the most critical element of your installation. Raymond mills generate significant vibration during operation, and an inadequate foundation will lead to premature wear, misalignment, and potential structural damage. The concrete foundation should be designed to withstand at least three times the total weight of the mill, including auxiliary equipment and maximum material load.
Ensure the foundation pit is free of standing water and debris before pouring high-grade concrete. The anchor bolts must be precisely positioned according to the foundation drawing supplied by the manufacturer. Use templates to maintain accuracy, and allow the concrete to cure completely—typically for 7-14 days depending on environmental conditions—before proceeding with installation. Rushing this step is the most common cause of future alignment problems.
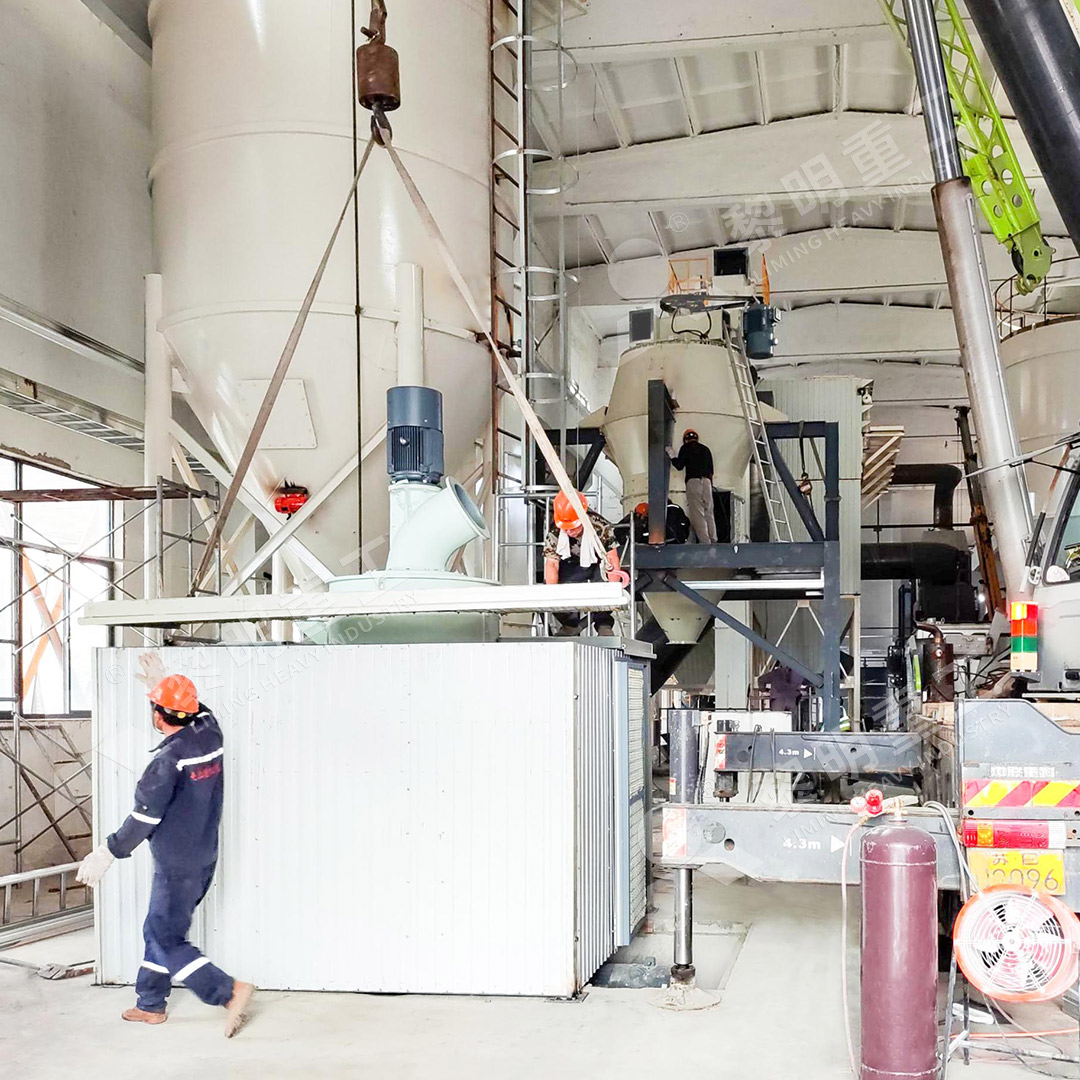
Uncrating, Inspection, and Component Assembly
Once the foundation is ready, carefully uncrate all components. Conduct a thorough visual inspection for any damage that may have occurred during transit. Check for cracks in castings, bends in structural steel, and ensure all electrical components are dry and intact. Verify against the packing list that all parts are present, including bolts, gaskets, and spare tools.
Begin assembly by positioning the mainframe onto the foundation. Use precision levels to ensure perfect horizontality—deviations should not exceed 0.1mm per meter. This is not merely a suggestion; it’s a requirement for proper roller and ring alignment. Once leveled, tighten the anchor bolts gradually and evenly in a cross pattern to avoid distorting the frame.
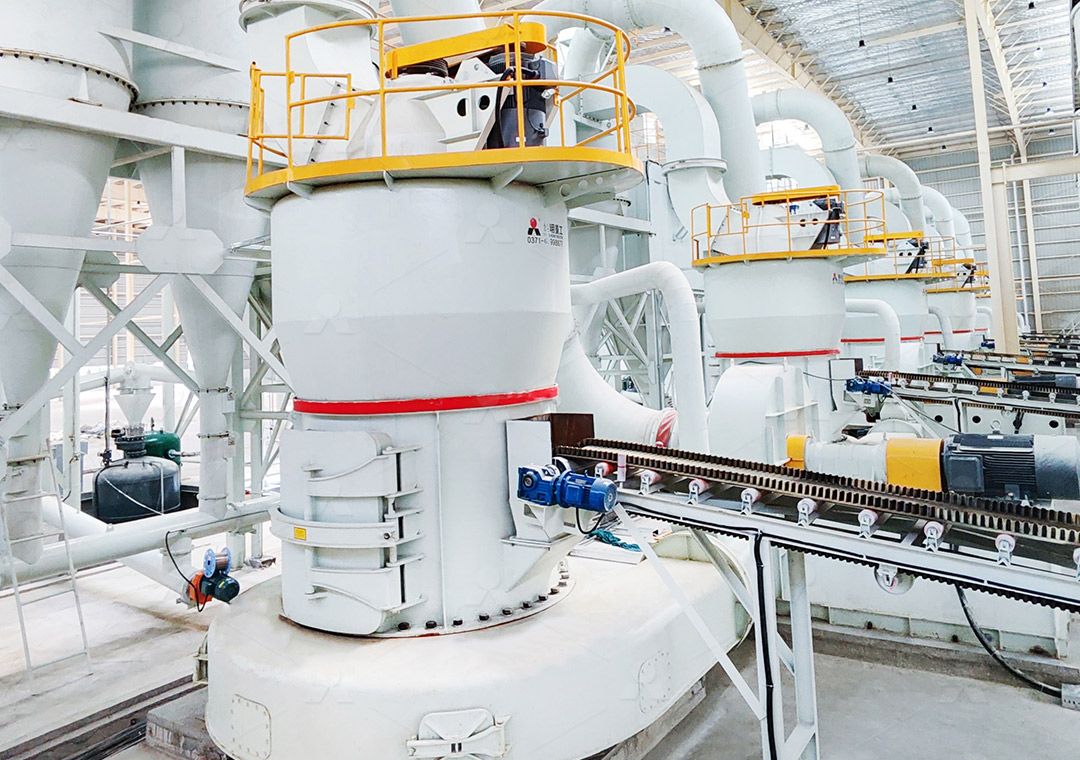
Installing the Grinding Roller and Grinding Ring Assembly
The heart of the Raymond mill is its grinding assembly. Carefully install the grinding ring onto the base, ensuring it sits perfectly flat. Next, mount the grinding roller assembly onto the shaft. Pay close attention to the clearance between the roller and ring—this critical gap directly impacts grinding efficiency and product fineness. Refer to the manufacturer’s specifications for the exact tolerance, typically between 5-10mm initially, which will adjust as components wear during operation.
Lubricate all bearings according to the manual before final assembly. Use only the recommended lubricant type and quantity, as incorrect lubrication accounts for nearly half of all premature bearing failures. The grinding roller system should rotate freely without binding or excessive play.
Integrating the Classifier and Drive System
The classifier is what determines your final product fineness. Install the classifier assembly above the grinding chamber, ensuring the drive motor aligns properly with the classifier shaft. Misalignment here will cause vibration, reduced efficiency, and potential motor failure. Use laser alignment tools for precision, as visual alignment is insufficient for these tolerances.
Connect the main drive motor to the grinding roller assembly through the reducer. Again, laser alignment is essential. Even minor misalignment between the motor and reducer can cause catastrophic failure within hours of operation. After connecting, manually rotate the system to confirm everything moves smoothly without obstruction or unusual resistance.
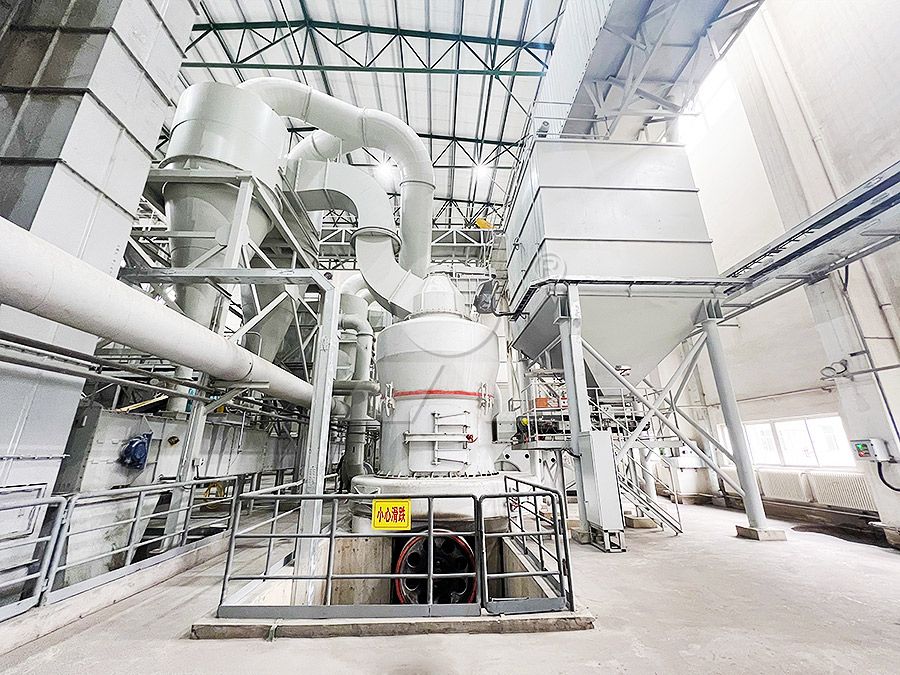
Connecting Auxiliary Systems and Electrical Installation
Raymond mills don’t operate in isolation. Connect the feeder system, ensuring the feed rate can be precisely controlled. Install the cyclone collector and baghouse dust collection system, paying particular attention to seal all connections thoroughly. Air leakage in the collection system dramatically reduces efficiency.
Electrical installation should be performed by qualified electricians following local codes and the mill’s electrical schematics. Ensure proper grounding and install overload protection on all motors. The control panel should be positioned in a clean, dry location with good visibility of the operating mill.
Considering Advanced Alternatives
While traditional Raymond mills serve many applications effectively, operations requiring ultra-fine powders should consider more advanced technology. For instance, our MW Ultrafine Grinding Mill
The MW series incorporates several engineering innovations, including a cage-type powder selector with German technology for precise separation, and a unique design that eliminates rolling bearings and screws from the grinding chamber. This eliminates concerns about bearing damage or loose screws causing operational failures. Additionally, the external lubrication system allows for maintenance without shutdown, enabling continuous 24-hour production—a significant advantage over traditional designs.
Commissioning and Test Run
Before introducing material, run the mill empty for at least two hours. Monitor bearing temperatures—they should stabilize below 70°C (158°F). Listen for unusual noises that might indicate misalignment or rubbing components. Check all electrical systems for proper amperage draw.
Begin the material test with a small amount of easy-to-grind material. Gradually increase feed rate while monitoring motor amperage and product fineness. Make incremental adjustments to the classifier speed and grinding pressure until the desired product specifications are achieved. Document these settings for future reference.
Frequently Asked Questions
What is the most common mistake during Raymond mill installation?
Inadequate foundation preparation accounts for nearly 40% of installation-related problems. Rushing the concrete curing process or improper anchor bolt placement creates alignment issues that manifest as excessive vibration and premature wear.
How often should lubrication be performed after installation?
Initial lubrication should be performed before first operation. Thereafter, follow the manufacturer’s schedule precisely—typically every 400 hours of operation for bearings in the grinding chamber, with more frequent checks of the classifier and reducer lubrication systems.
Can the same Raymond mill process different materials?
Yes, but each material may require adjustment of classifier speed, grinding pressure, and feed rate. Always clean the system thoroughly when switching between materials to prevent contamination.
What advantages does the MW Ultrafine Grinding Mill offer over traditional designs?
The MW series provides 40% higher production capacity than jet mills with only 30% of the energy consumption. Its innovative design without internal bearings or screws in the grinding chamber significantly reduces maintenance requirements and increases operational reliability.
How long does the complete installation process typically take?
For a standard Raymond mill, allow 7-10 days for foundation curing and 3-5 days for mechanical assembly and commissioning. More complex systems like the MW Ultrafine Grinding Mill may require additional time for precision alignment of advanced components.