
How to Replace the Pinion Gear on a Cement Ball Mill: Step-by-Step Guide
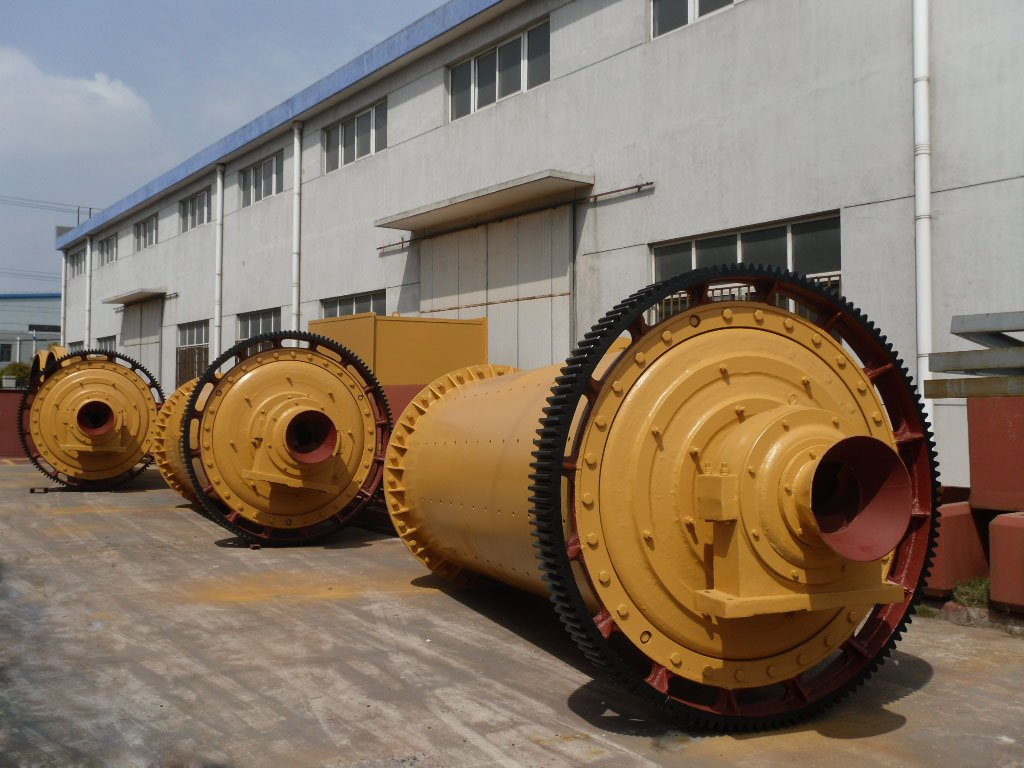
We provide a wide range of mills — including Raymond mill, trapezoidal mill, vertical mill, ultrafine mill, and ball mill, obtained ISO9001 international quality certification, EU CE certification, and Customs Union CU-TR certification. Suitable for processing minerals such as limestone, phosphate, quicklime, kaolin, talc, barite, bentonite, calcium carbonate, dolomite, coal, gypsum, clay, carbon black, slag, cement raw materials, cement clinker, and more.
The discharge range of these mills can be adjusted to meet specific processing needs, typically from 80-400 mesh, 600-3250 mesh, and can achieve the finest particle size of up to 6000 mesh(D50).
If you are looking for a reliable grinding solution to turn stone or minerals into fine powder, please feel free to contact our online customer service.
How to Replace the Pinion Gear on a Cement Ball Mill: Step-by-Step Guide
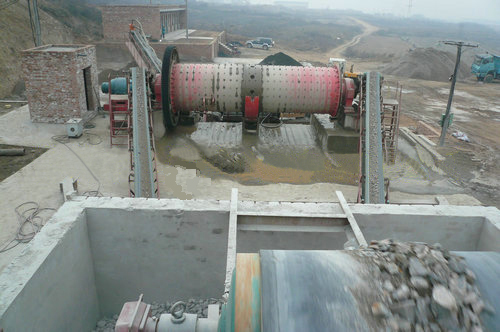
Replacing the pinion gear on a cement ball mill is a critical maintenance task that requires precision, safety, and the right tools. A worn or damaged pinion gear can lead to uneven grinding, increased energy consumption, and even catastrophic mill failure. This guide will walk you through the process step-by-step, but remember, always refer to your mill’s specific manual and ensure all safety protocols are followed. This ain’t a job for the faint-hearted!
Pre-Work Preparations: Safety First!
1. Lock Out, Tag Out (LOTO): This is non-negotiable. Completely isolate the ball mill from all power sources. Lock out the main electrical disconnect and tag it with your name and the reason for the lockout. Also, isolate the hydraulic and lubrication systems.
2. Gather Tools and Equipment: You’ll need overhead cranes or hoists (rated for the load), heavy-duty jacks, gear pullers, torque wrenches, dial indicators, feeler gauges, alignment tools, and a healthy supply of high-quality gear oil. Don’t forget personal protective equipment (PPE) – hard hats, steel-toed boots, safety glasses, and gloves.
3. Secure the Mill: Use mechanical stops or blocks to prevent the mill from rotating unexpectedly. Chock the wheels. Ensure the work area is clean, well-lit, and clear of obstacles.
Step-by-Step Replacement Procedure
Step 1: Drain Lubrication and Disconnect Peripherals
Drain the oil from the gearbox. Disconnect any lubrication lines, sensors, or guards attached to the pinion shaft and gear housing. This gives you clear access to the assembly.
Step 2: Remove the Coupling Guard and Coupling
Unbolt and remove the coupling guard. Carefully mark the alignment of the motor shaft to the pinion shaft coupling for reassembly. Unbolt and disconnect the coupling halves. You may need to use a puller for this.
Step 3: Support the Pinion Shaft
Before removing any major components, use an overhead crane with appropriate slings to support the weight of the pinion shaft assembly. You don’t want it dropping once the bolts are removed!
Step 4: Unbolt and Remove the Old Pinion Gear
Unbolt the pinion gear from its hub or shaft. This often requires massive socket wrenches and possibly hydraulic torque tools. Note the arrangement of any shims behind the gear; these are crucial for realignment later. Once all bolts are removed, carefully slide the old pinion gear off the shaft. A gear puller is almost always necessary here.
Step 5: Clean and Inspect
Thoroughly clean the shaft, hub, and housing. Inspect the shaft for any scoring, wear, or damage. Check the girth gear on the mill for any corresponding damage. It’s often wise to replace both if they are a mated set to avoid premature failure.
Step 6: Install the New Pinion Gear
Carefully slide the new pinion gear onto the shaft. Ensure it is perfectly clean and lightly lubricated. Reinstall the bolts with the original shim arrangement, tightening them to the manufacturer’s specified torque values in a star pattern to ensure even seating.
Step 7: Realignment – The Most Critical Step
Misalignment is the number one cause of gear failure. Use dial indicators to check the backlash (the clearance between the pinion and girth gear teeth) and the gear contact pattern. Adjustments are made by adding or removing shims behind the pinion bearing housings to move the entire assembly in or out. The goal is a perfect tooth contact pattern in the center of the girth gear teeth. This process requires patience and expertise.
Step 8: Reconnect and Refill
Once aligned, reconnect the coupling, ensuring the marks you made earlier line up. Reinstall the coupling guard. Reconnect all lubrication lines and sensors. Refill the gearbox with the correct grade and amount of high-performance gear oil.
Step 9: Test Run
Remove all tools, blocks, and locks. Perform a visual final check. Energize the system and run the mill without load (uncoupled from the mill body if possible) for a short period. Listen for unusual noises and check lubrication flow. If all is well, proceed to a short loaded run and monitor temperatures and vibrations closely.
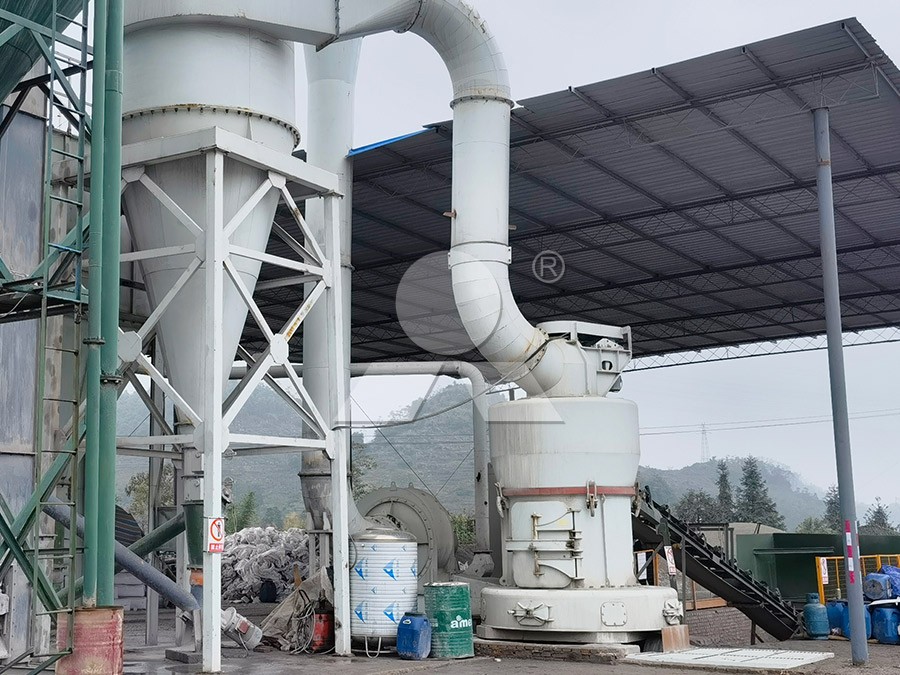
Thinking of an Upgrade? Consider Our MW Ultrafine Grinding Mill
While maintaining your ball mill is essential, it’s worth considering the efficiency gains of modern technology. For operations looking to reduce maintenance downtime and energy costs, our MW Ultrafine Grinding Mill presents a superior alternative for fine and ultra-fine powder production.
Key advantages that directly adress the pains of ball mill maintenance include:
- Higher Yielding, Lower Energy Consumption: Operates at 40% higher capacity than jet mills and uses 30% less energy. Imagine your power bill after that!
- No Rolling Bearing & Screw in Grinding Chamber: This brilliant design eliminates worries about bearing failures or loose screws causing catastrophic damage – a common headache in ball mills.
- Worry-free Operation: We provide comprehensive technical support and original spare parts, ensuring your operation runs smoothly without unexpected breakdowns.
With an input size of 0-20mm and a capacity range of 0.5-25 tph, the MW Series is perfect for producing ultra-fine powders from materials like limestone, calcite, and talc for industries ranging from construction to cosmetics. It’s a robust, eco-friendly solution designed for the modern plant.
Replacing a pinion gear is tough work. Maybe it’s time to think about a mill that makes your life easier.