
How to Mount and Balance Two Grinding Wheels on an MC3 Spline Grinder
We provide a wide range of mills — including Raymond mill, trapezoidal mill, vertical mill, ultrafine mill, and ball mill, obtained ISO9001 international quality certification, EU CE certification, and Customs Union CU-TR certification. Suitable for processing minerals such as limestone, phosphate, quicklime, kaolin, talc, barite, bentonite, calcium carbonate, dolomite, coal, gypsum, clay, carbon black, slag, cement raw materials, cement clinker, and more.
The discharge range of these mills can be adjusted to meet specific processing needs, typically from 80-400 mesh, 600-3250 mesh, and can achieve the finest particle size of up to 6000 mesh(D50).
If you are looking for a reliable grinding solution to turn stone or minerals into fine powder, please feel free to contact our online customer service.
Proper Mounting and Balancing: Essential for Precision Grinding
Mounting and balancing two grinding wheels on an MC3 Spline Grinder is a critical proceedure that directly impacts surface finish, part geometry, and overall machine longevity. Incorrectly mounted or unbalanced wheels can lead to virbation, poor tolerances, and even catastrophic failure. This guide will walk you through the essential steps to ensure a safe and precise setup.
Step 1: Pre-Mounting Inspection and Preparation
Before you even touch the wheels, inspect them thoroughly. Check for any visual cracks, chips, or damage. Perform a simple ring test by suspending the wheel on a pin or your finger and tapping it gently with a non-metallic object. A good wheel will produce a clear, ringing tone; a cracked wheel will sound dull. Never mount a damaged wheel.
Clean the grinder’s spindle, flanges, and mounting nuts meticulously. Any grit, dust, or debris between these surfaces can cause the wheel to sit unevenly, leading to imbalance from the start. Ensure the blotters (paper washers) are in good condition and are the correct size for your wheels.
Step 2: Mounting the First Grinding Wheel
Start by placing a clean blotter on the inner flange. Carefully lift the first grinding wheel and slide it onto the spindle, ensuring it sits flush against the inner flange. Follow this with the outer flange and the mounting nut. Hand-tighten the nut initially. Use the correct spindle wrench to tighten the nut securely, but avoid excessive force that could crack the wheel or damage the threads. The goal is a firm, even clamp that prevents wheel slippage.
Step 3: Mounting the Second Wheel and Spacers
The process for the second wheel is identical. If there is a spacer between the two wheels, ensure it is clean, undamaged, and the correct length. The spacer must contact the inner flange of the second wheel evenly. Again, hand-tighten followed by a secure torque with the wrench. Double-check that both wheels are firmly seated and there is no lateral play.
Step 4: The Crucial Balancing Act
This is the most important step. An unbalanced wheel assembly causes harmful vibration, ruining finish and damaging the grinder’s spindle bearings. MC3 grinders typically have an integrated balancing arbor and weights.
- Mount the entire wheel assembly onto the balancing stand.
- Allow it to rotate freely and come to a natural stop. The heaviest point will settle at the bottom.
- Adjust the balancing weights on the top flange to compensate. Move the weights slightly, rotate the assembly again, and observe.
- Repeat this process until the assembly no longer has a tendency to rotate to a specific spot and remains static in any position you place it. This indicates a neutral balance.
Step 5: Final Installation and Test Run
Once balanced, carefully remount the entire assembly onto the grinder’s spindle. Before starting any grinding work, run the wheels at operating speed for at least one minute with the guards in place. Stand to the side during this test run. Listen for any unusual noises and watch for vibration. If everything is smooth and quiet, you are ready to begin grinding.
Choosing the Right Wheels for Your Material
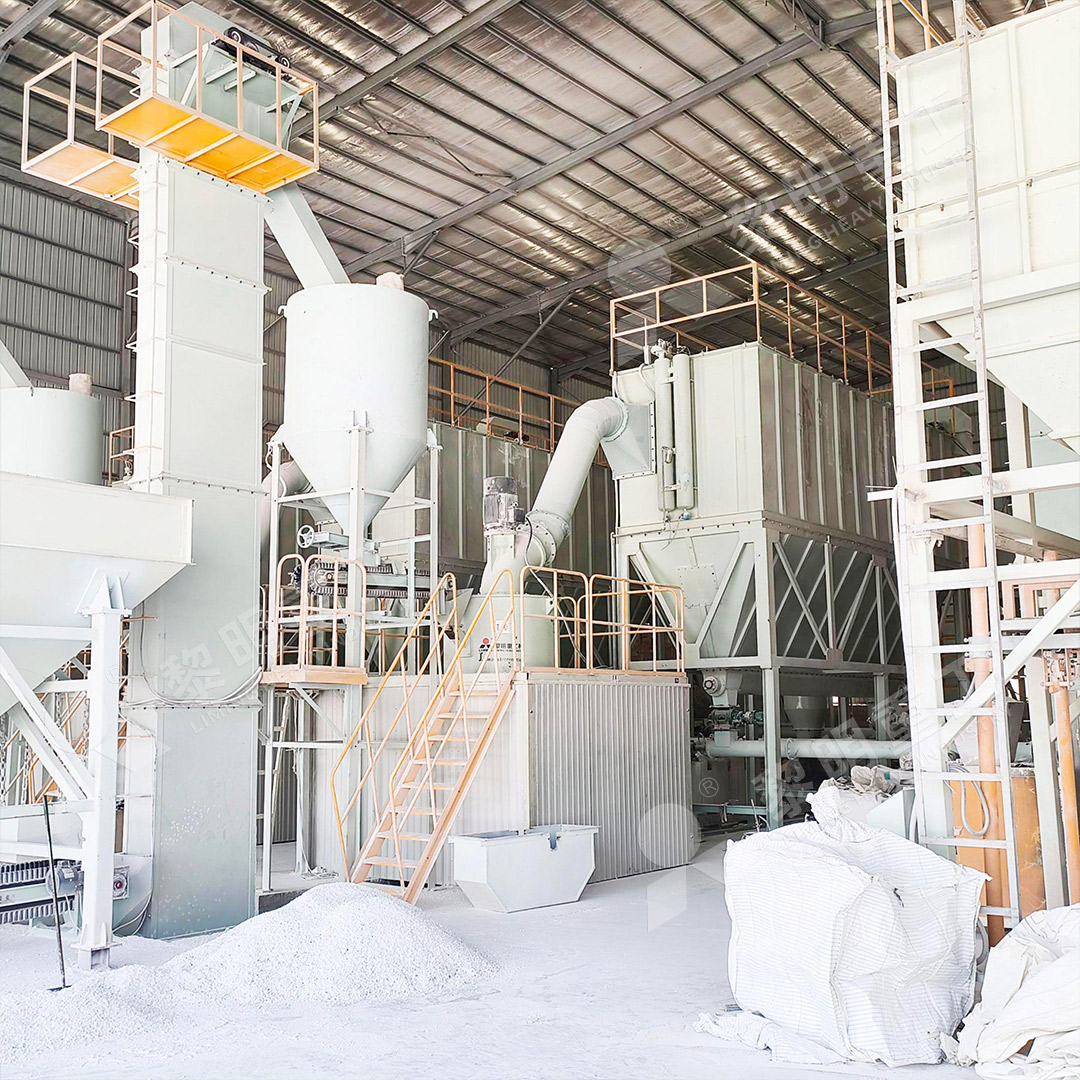
The performance of your spline grinder is also dependent on using the correct abrasive for the job. For fine finishing operations on hard metals or when producing ultra-fine powders in ancillary processes, the quality of your raw material is key. For instance, if you are grinding materials like limestone, calcite, or barite to a very fine powder (325-2500 meshes) for use in chemicals, paints, or cosmetics, starting with a consistently fine feedstock is crucial.
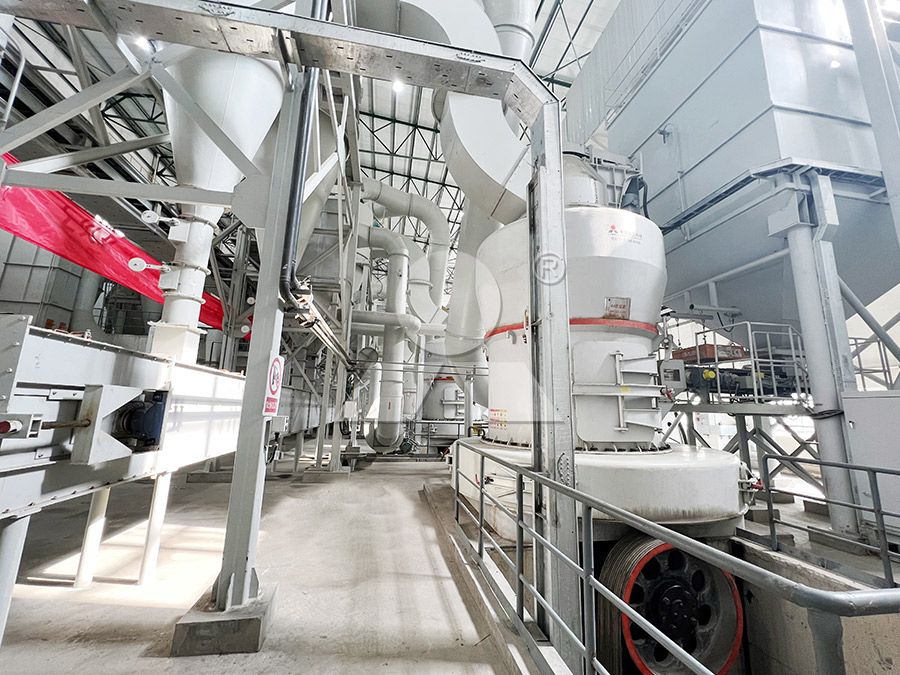
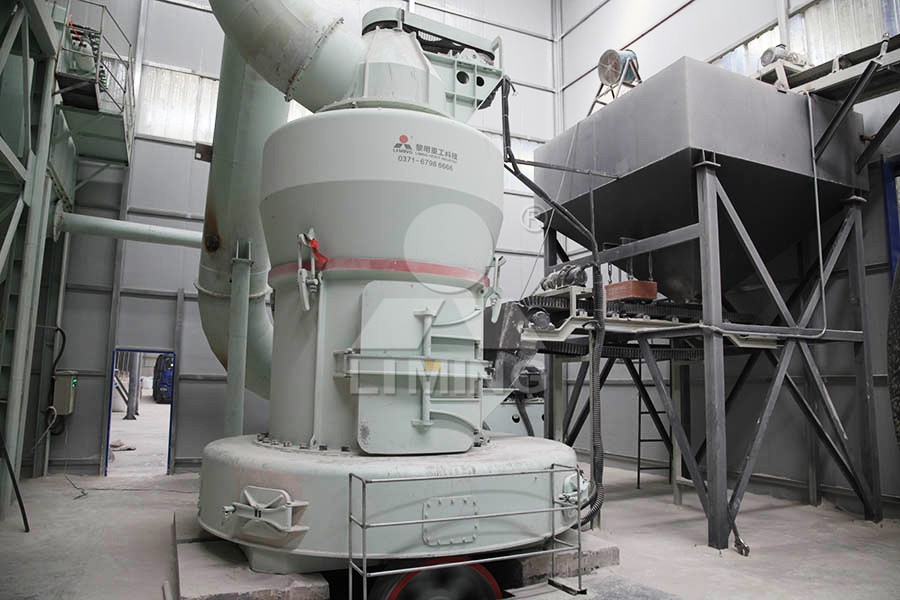
Our MW Ultrafine Grinding Mill is perfectly suited for this pre-processing stage. It’s designed to produce ultra-fine powder with higher yield and lower energy consumption—40% higher capacity than jet mills. Its adjustable fineness and eco-friendly, no-dust operation make it an ideal choice for preparing premium materials before they even reach your precision grinders like the MC3.
Remember: Safety is paramount. Always wear appropriate PPE, including safety glasses and hearing protection, and strictly follow all machine manufacturer guidelines. Proper mounting and balancing isn’t just a recommendation; it’s a requirement for quality and safety.